
Iced Coffee and Cold Brew
When the heat hits, sometimes you have to have your coffee cold. But, there isn’t one iced coffee that’s right for every palate. Below we present two masterful ways unlock the perfect cold coffee experience, each revealing a different flavor and sensory experience optimized for different coffee profiles and palate preferences.
Flash brew: captures the vibrant, juicy, and nuanced flavors of hot extraction, for a crisp, refreshing sip.
Cold brew: A specialty coffee spin on the classic that delivers a smoother, richer, low-acid profile with silky body and deep sweetness.
Flash Brew Iced Coffee
Light and bright? Crisp, clean flavors? This is your method — vibrant, nuanced, and ready in under 10 minutes. No overnight wait.
Why Flash Brew?
Hot water fully extracts delicate flavors — brightness, fruit, florals — that cold steeping misses
80% hot water + 20% ice allows proper extraction without risking sourness from under-extraction
Rapid chilling locks in freshness and prevents over-dilution or muddy notes
No overnight wait — clean, clear iced coffee with higher body clarity than any cold brew
Ingredients
Equipment
Step-by-Step · 80/20 Method
Prep
Boil water to 195–200°F (use ~195°F for very delicate light roasts to preserve florals). Rinse the filter to preheat equipment. Place dripper over carafe on scale. Add 20 g ground coffee.
Bloom
Start the timer. Pour 40–60 g hot water in slow, even circles to fully saturate the grounds. Gently swirl or stir the slurry. Let it bloom 30–60 seconds — grounds will rise and release gas.
Main Pour
Continue pouring in controlled stages to reach exactly 240 g total brew water.
~0:45–1:00 — Pour to ~150 g in steady circles
Pause 30–45 seconds
Final pour to reach 240 g. Gentle swirl if bed looks uneven.
Aim for 3–3.5 min total draw-down. Grind coarser if it finishes too fast, finer if too slow.
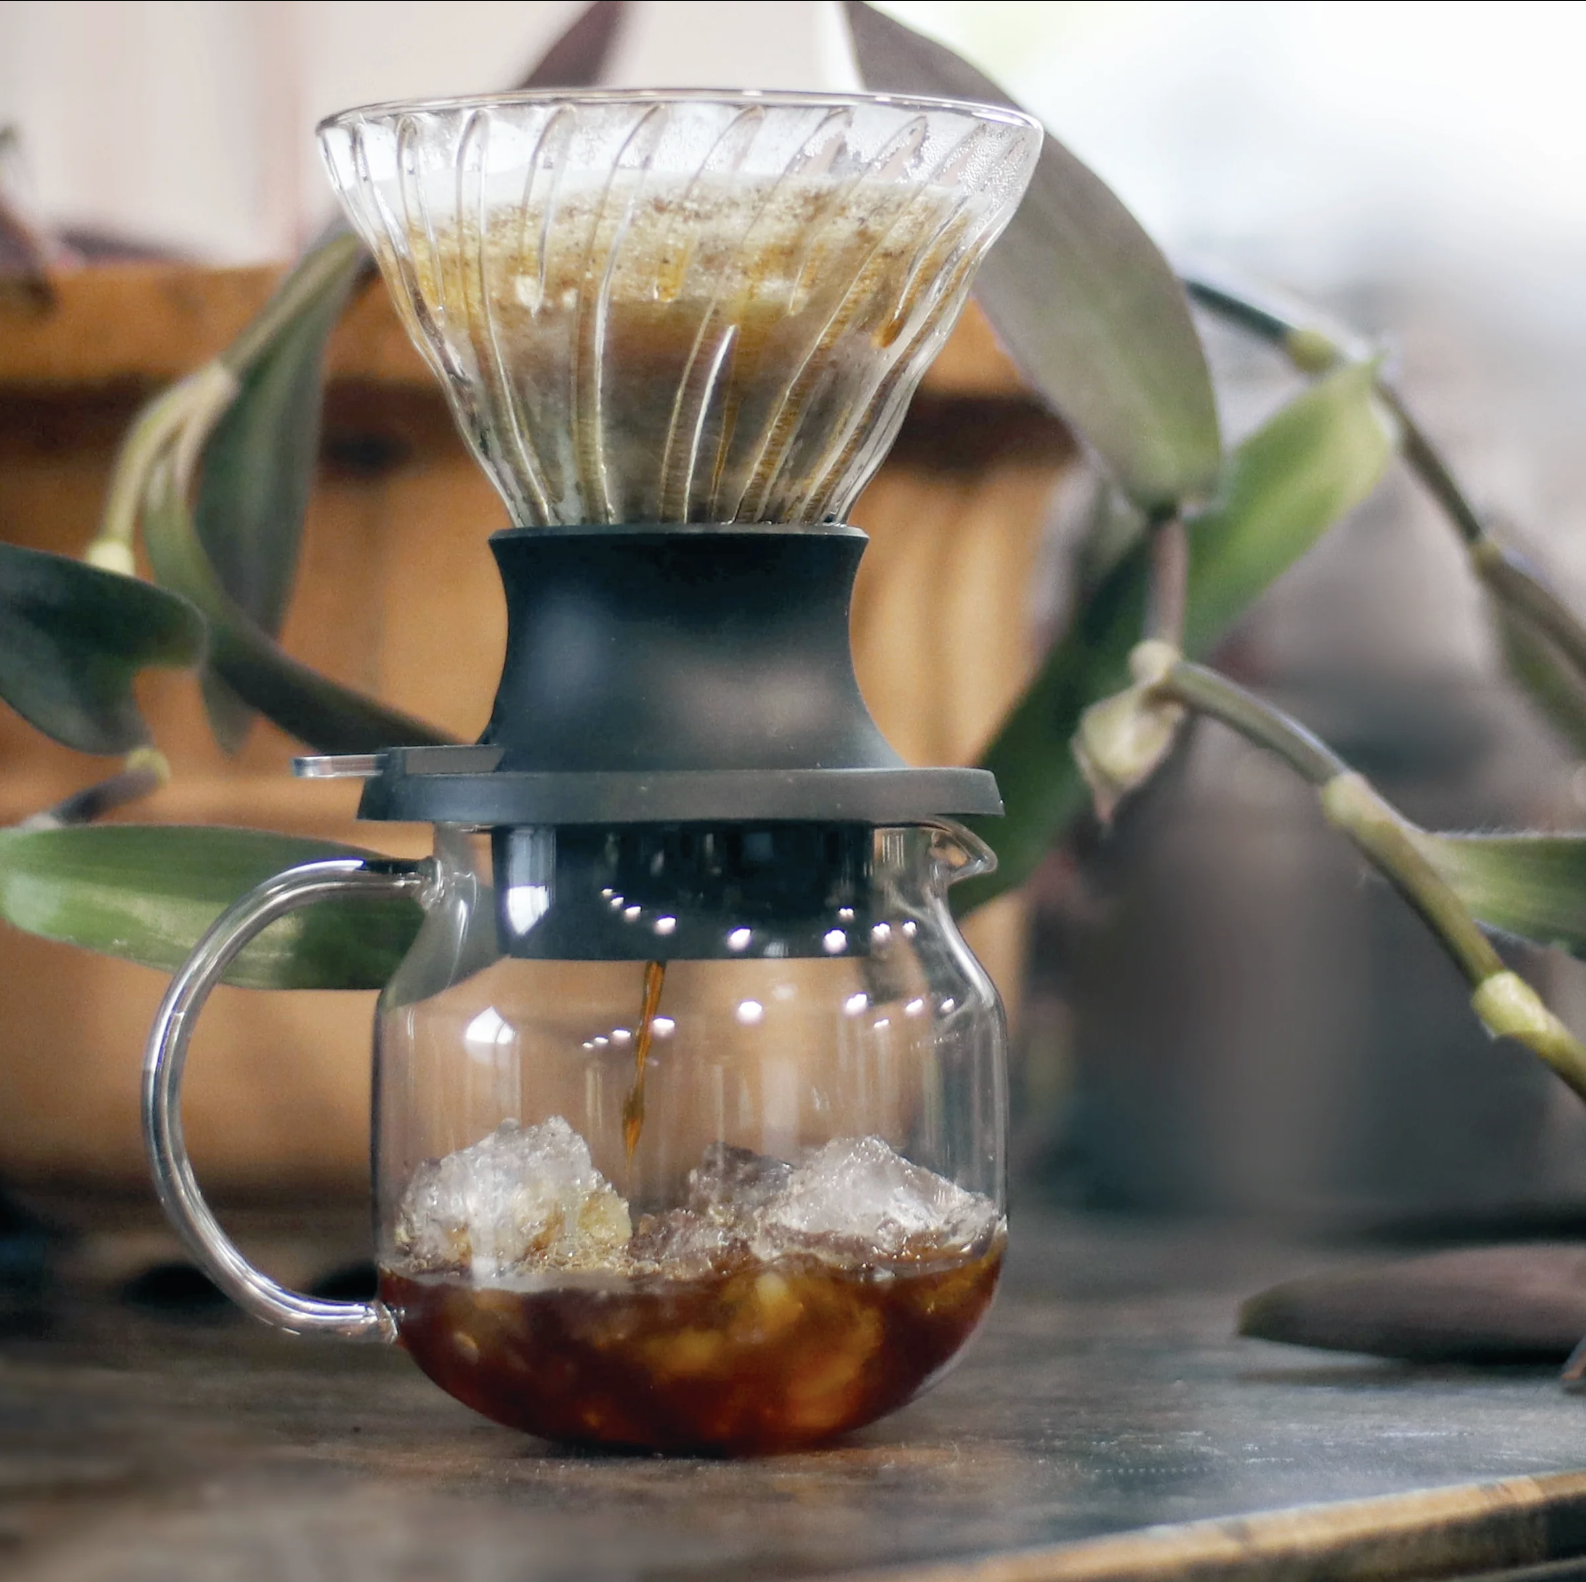
Flash Chill
As soon as the brew finishes draining, add 60 g ice directly into the hot coffee in the carafe. Stir vigorously for 20–30 seconds until temperature drops to 41–55°F (5–15°C) and most ice has melted. This preserves clarity and stops extraction.
Serve
Fill your glass with 100–150 g fresh ice. Pour the chilled brew directly over. The pre-chilling means very little additional dilution occurs. Drink black to enjoy maximum nuance.
Flavor Tuning
More nuance from the coffee
Push to 85/15 hot water ratio. More hot water extracts more complexity — but don't go much past 85% or dilution becomes noticeable.
Stronger flavor
Increase the coffee dose. This recipe uses a 12:1 ratio — try 11.5:1 (21 g) or 11:1 (22 g).
Ice quality
Make ice from the same filtered water you brew with — tap-water ice can add subtle off-flavors.
Best coffees for this method
Ethiopian naturals, bright Central/South American washed coffees, Geshas. Medium roasts are very forgiving; darker roasts work but aren't ideal.
Troubleshooting
Targets ~1.3–1.35% TDS final with ~18–20%+ extraction yield and minimal bitterness. Uses a 12:1 coffee-to-water ratio (20 g coffee : 240 g brew water).
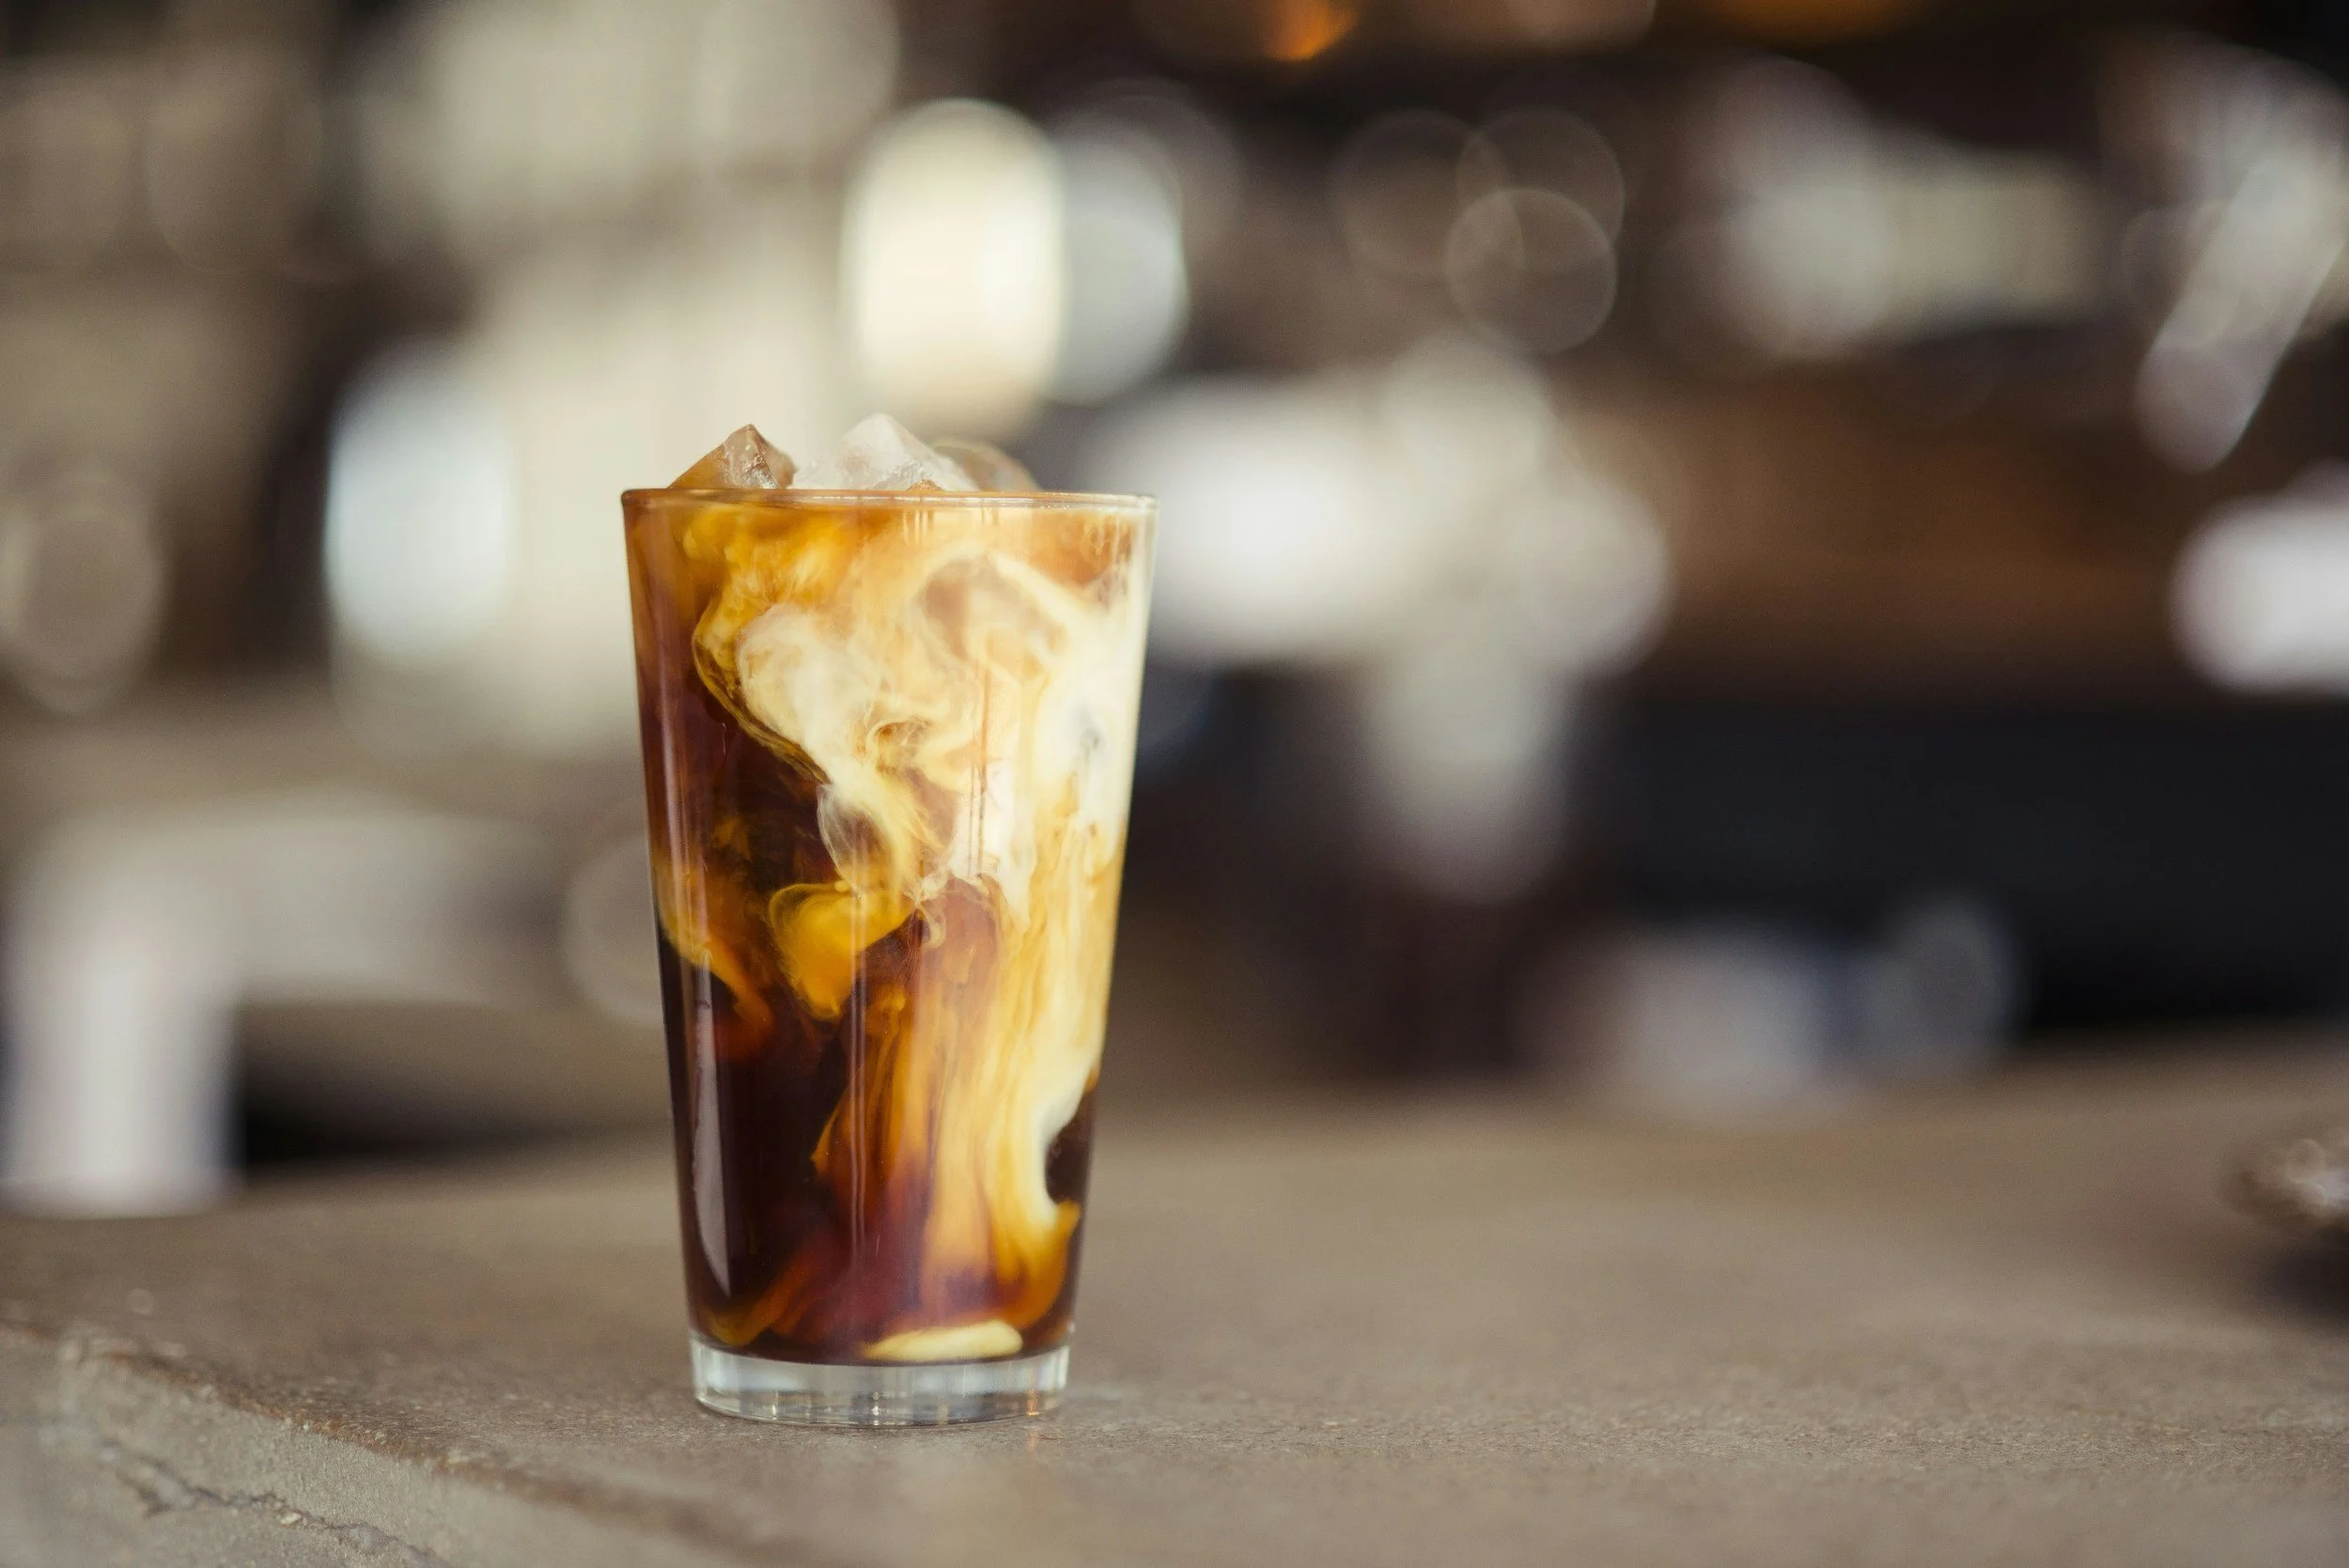
Cold Brew
Rich, chocolatey, and smooth enough to stand up to cream. This method draws from advanced techniques to get more flavor and value from your beans — producing ~1 liter of ready-to-drink cold brew, not a concentrate.
Why This Method?
Finer grind extracts more flavor from less coffee — less waste than traditional coarse-grind cold brews
Optional fining agent clumps sediment fast — no messy filters or bags, cleaner pour, higher yield
Smaller batches stay fresh — avoids the flat, oxidized, musky notes of large stored batches
Ready to drink straight over ice — no diluting a concentrate, no guesswork
Ingredients · ~1 L batch
Equipment
Step-by-Step
Grind
Measure 75 g and grind medium-fine — halfway between your grinder's espresso and filter settings. Don't use a coarse grind like traditional cold brew.
Combine
Add the ground coffee to your vessel. Pour in 1 L of room-temperature water.
Stir
Mix thoroughly for 20–30 seconds to ensure all grounds are fully saturated and to kick-start extraction.
Add Fining Agent (optional)
Drop in the fining agent per package directions (~1 drop per 100 ml). Stir gently to distribute. Skip this if you don't have it — the brew still works, but sediment settles slower and yield may be slightly lower.
Steep
Seal the container and refrigerate for 12 hours. Extraction mostly finishes in the first hour or two — the extra time helps sediment settle fully.
Separate
Gently pour or syphon the clear top liquid into a clean carafe. Pour slowly and stop before disturbing the sediment — expect ~800–900 ml yield. Discard or compost the grounds.
With fining agent: sediment clumps and drops fast → very clean pour-off
Without: may be cloudier; let sit longer or filter coarsely if needed
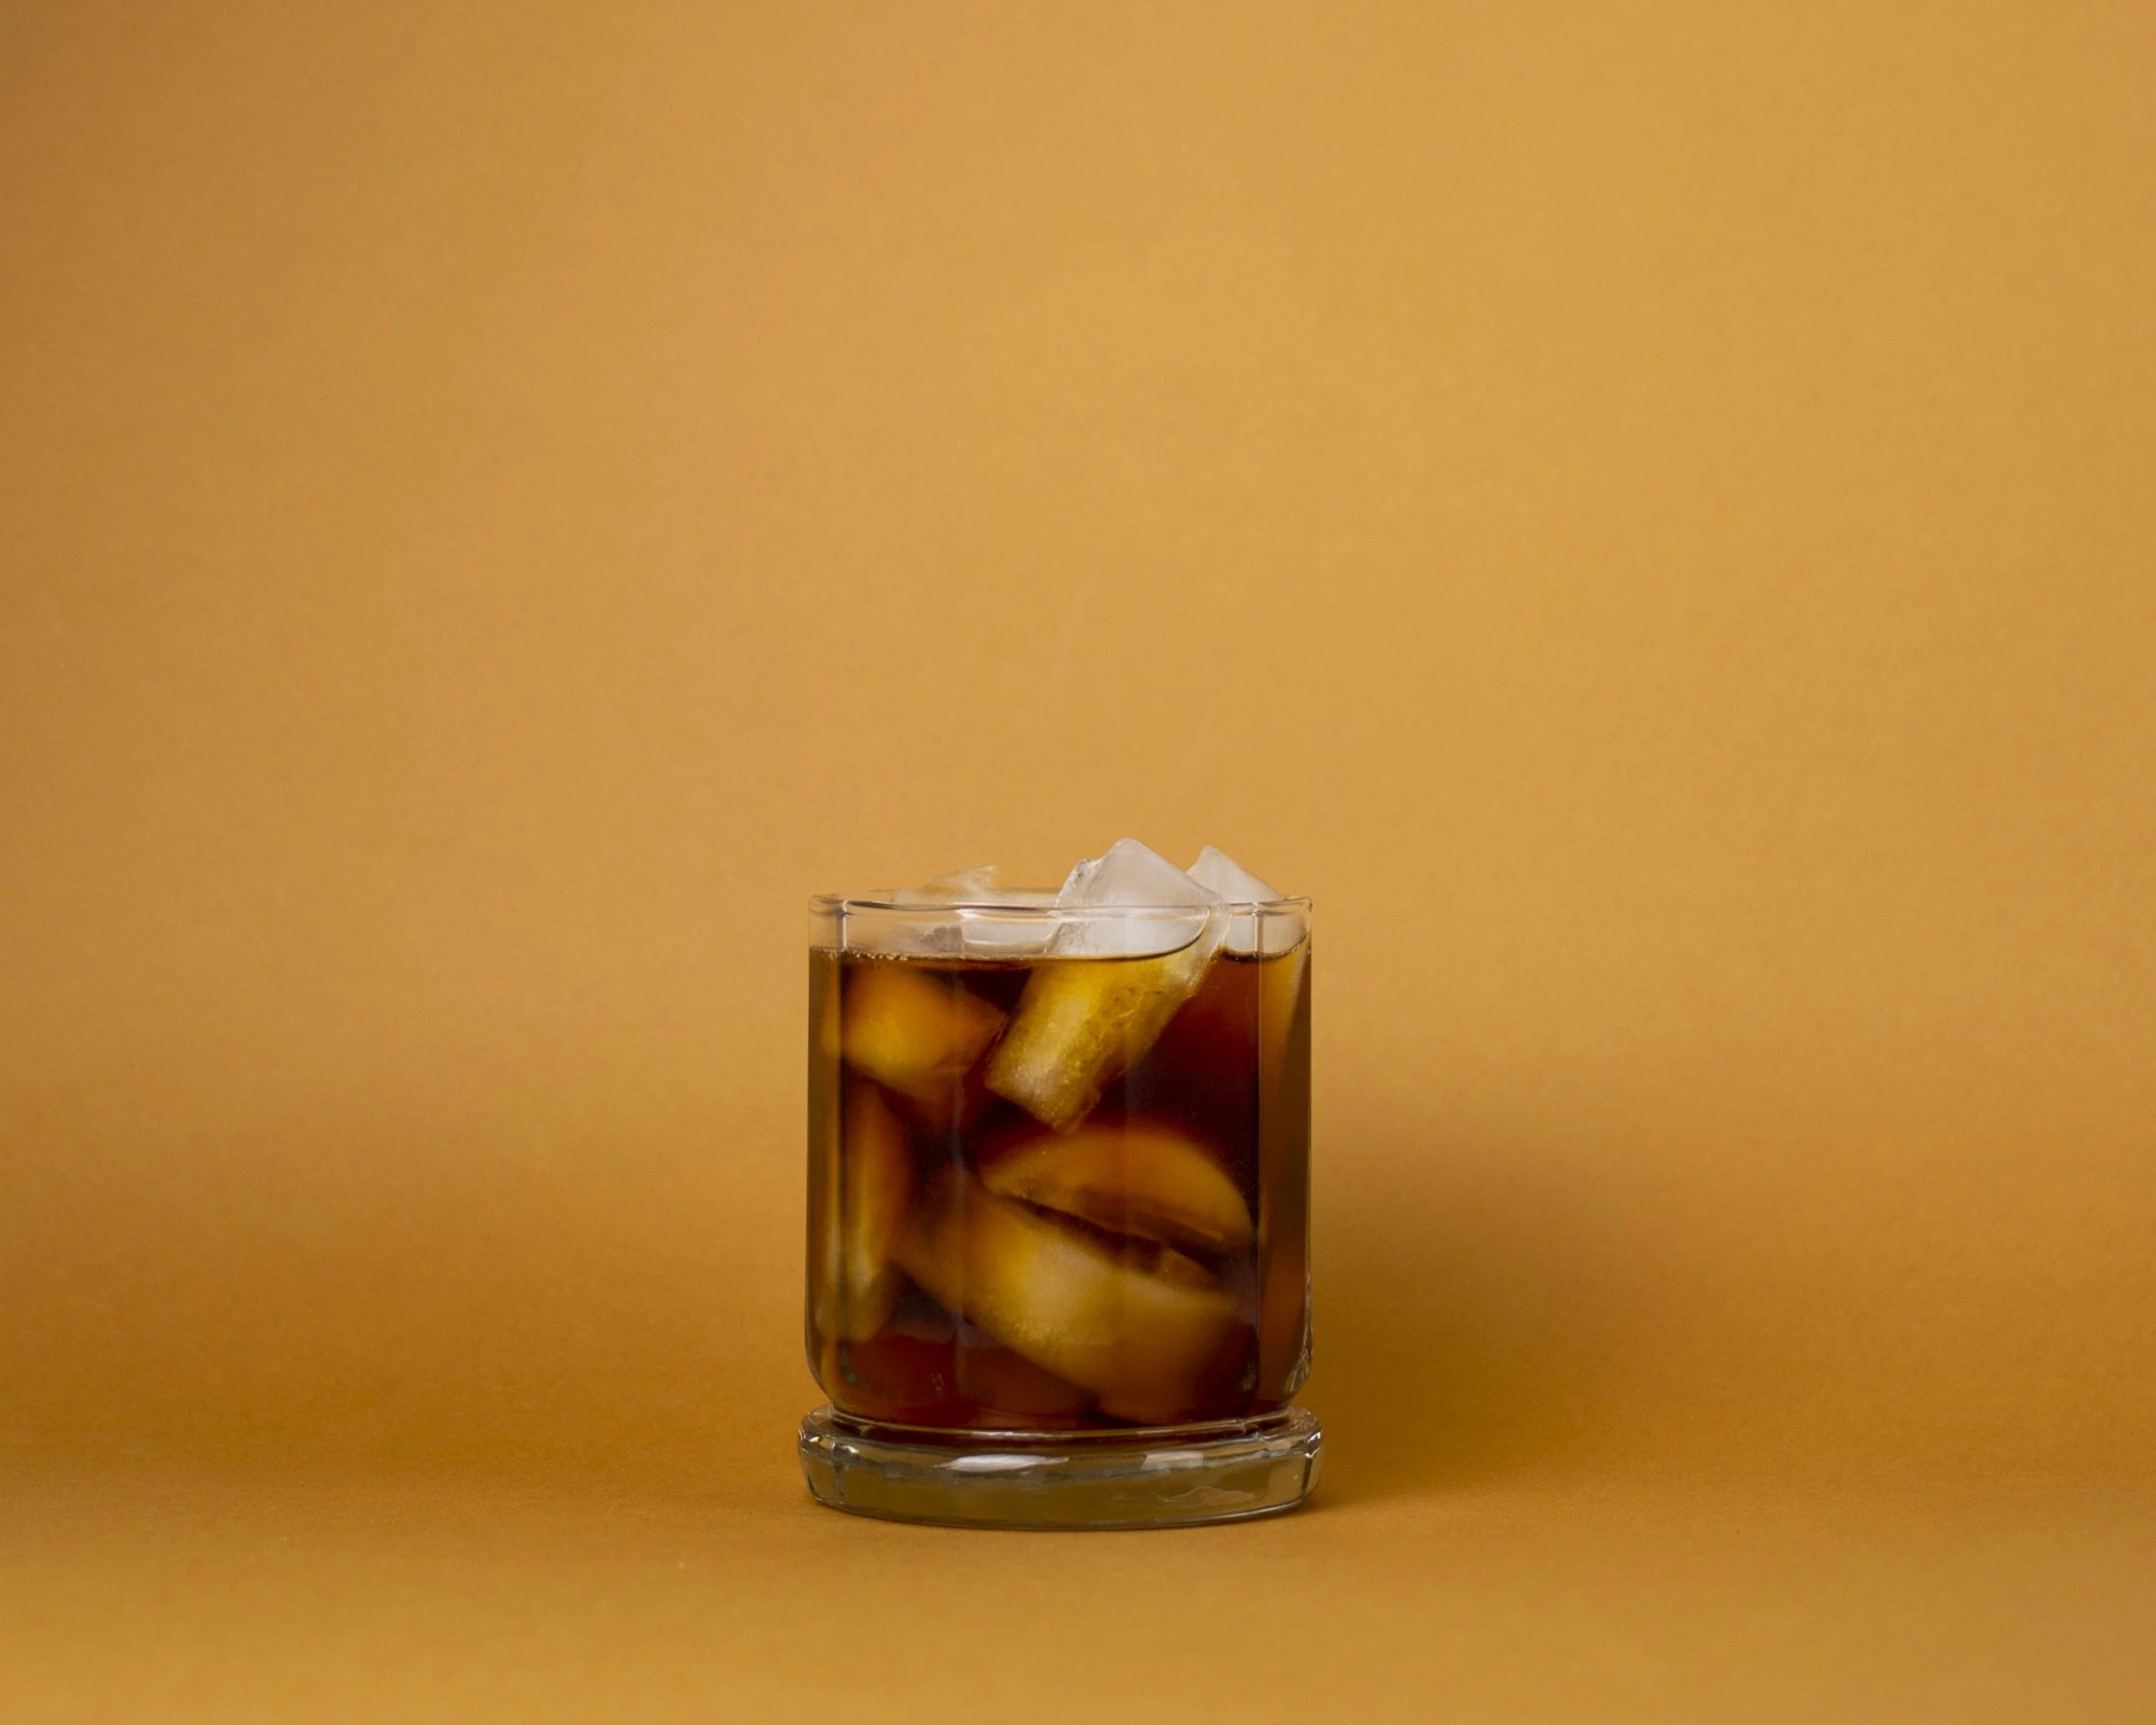
Serve
Pour straight over ice — it dilutes nicely. No need to dilute further like a concentrate. Drink black or add cream.
Storage
Best fresh — make it the night before for next-day drinking
Up to 2–3 days sealed in the fridge. Flavor stays brighter than long-stored concentrates.
Avoid large batches — oxidation makes coffee flat, then vegetal, then soy-sauce-like after a week. Make small, drink fresh.
Best Coffee Choices
Medium roasts
Sweet, balanced, low-acidity — caramel, chocolate, nutty notes.
Dark roasts
Bitterness drops dramatically, body stays smooth and pleasant.
Natural-processed coffees
Often juicier, candy-sweet, with vibrant acidity.
Avoid
Very light/washed coffees
Taste thin and muted in cold brew — better suited for flash brew.
Expensive funky/anaerobic beans
Aromas get muted or lost — save them for hot brewing.
Flavor Tuning
Scaling up or down
Keep the 75 g per liter ratio. Half batch? Use 37.5 g coffee to 500 ml water.
Want more body or sweetness?
Try a darker roast or a natural-processed coffee before adjusting the recipe itself.
No fining agent?
Still works — let it settle longer before decanting, or pour very slowly through a coarse strainer.
Troubleshooting
Produces ~800–900 ml yield from a 1 L batch · 75 g coffee per liter · Ready to drink straight over ice — no dilution needed.